SOPRO Imaging Install
- You are going to want to run the installer for SOPRO, typically located in the \\server1\Sopro Imaging\Sopro Imaging Installer\Sopro Imaging setup.exe
- Follow all the steps for the installer.
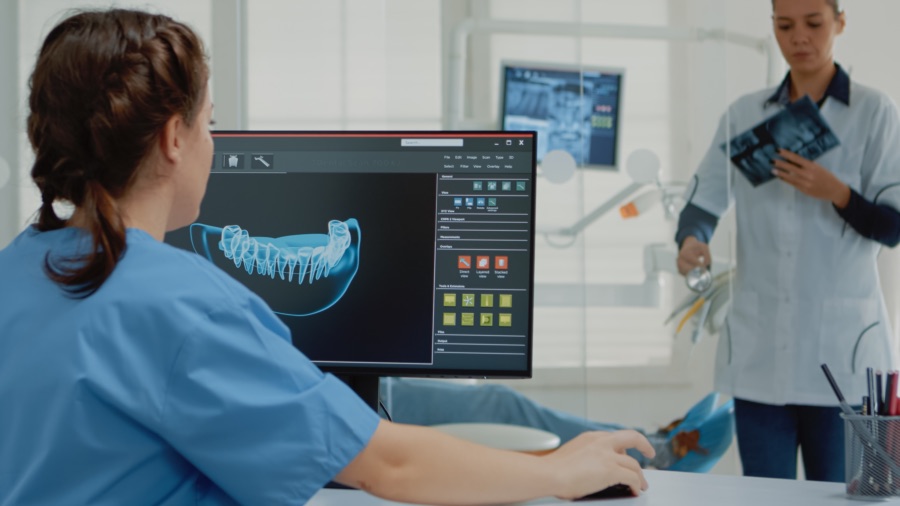
- Run SOPRO imaging.
- Click new
- Add a name like Dr Wrong Database
- Double click the new doctor that you created (might also see one titled demo)
- Top left > File> Setup
- Change the images folder path to the correct one
- In this case, it was \\server1\Sopro Imaging\Images SOPRO-Imaging) It was nested though. The original setup had a mistake and nested the database in the folder. Typically, the image folder has a 0-999 folder.
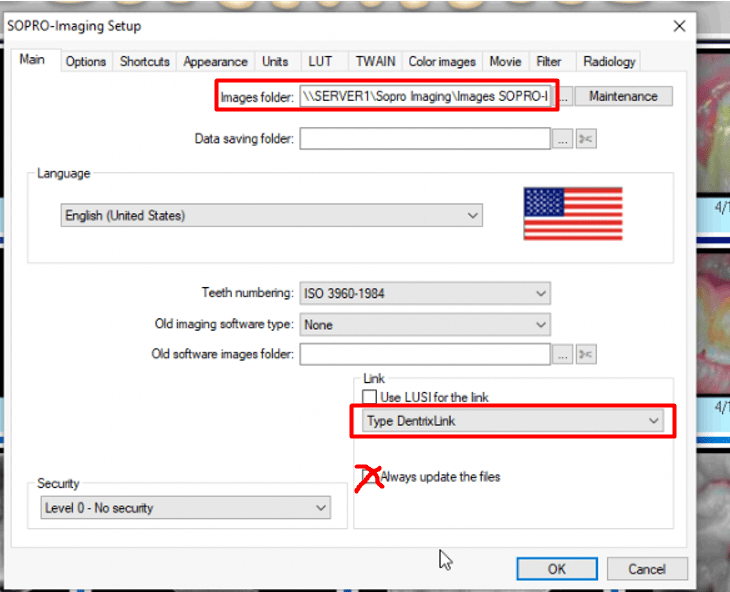
If you are using DentrixLink to open up patient images in Dentrix:
- You want to set the drop down to Dentrix and then select the auto update button.
- Click radiology, select the sensor you are using, typically it is the middle on that is black (sopix).
If you open SOPRO and it says “Unable to validate license”:
- Click yes, under license type in “1 – DEMOS – DEMOS” – validate license.
- This will allow you to create the fake database and connect it to the correct one. – then start from the beginning.


