
Clonezilla – How-To Guide
Clonezilla is an open-source Linux based cloning tool. It can often be successful at cloning failing disks, which can then be repaired with the normal chkdsk commands in windows. It is also usually much faster than the hardware based cloning devices. It is pretty straight forward to use, however there are many advanced options you can explore if needed.
1. You will need to download the iso and burn it to a bootable usb I recommend using rufus or etcher. You can get the iso here.
2. Boot from the usb the “Clonezilla live (default settings, VGA 800×600)” is fine
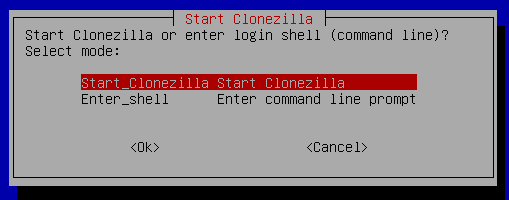
3. Start clonezilla
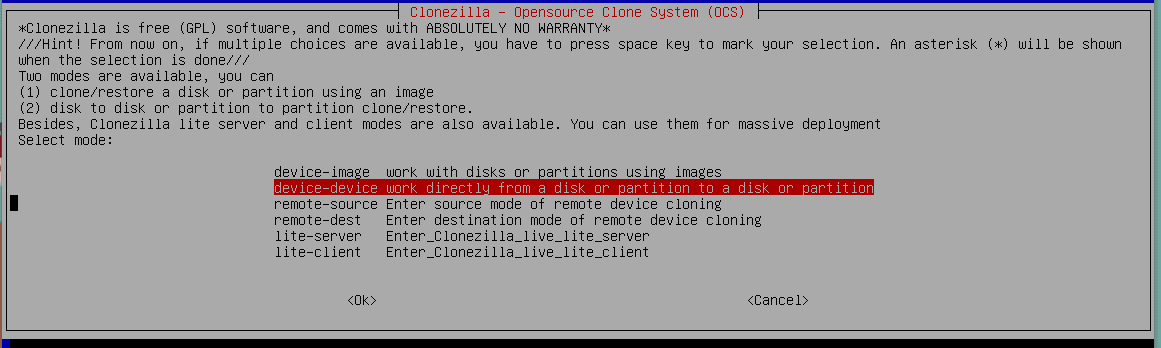
4. Select “Device-Device work directly from a disk or partition to a disk or partition”
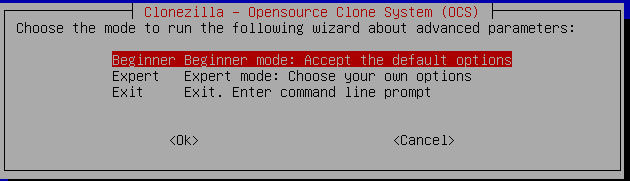
5. Beginner mode is acceptable for most uses. Advanced mode can allow cloning of potentially failing drives
6. Most uses are probably disk to disk here, but you can clone only partitions if you so choose.

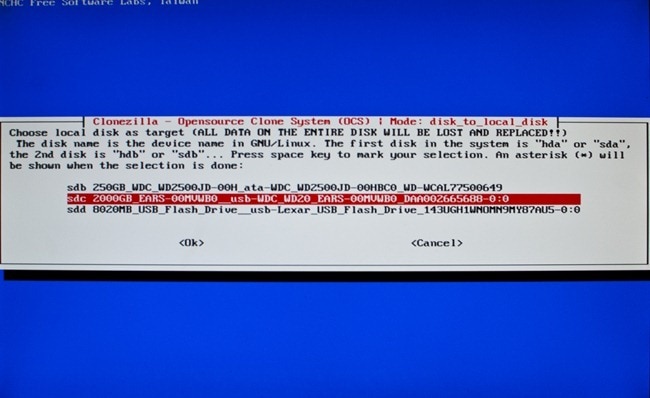
7. Choose your source disk, in this example I am using a virtualized host, but on a physical computer it will show the Model number, size, and connection type of the drive ata is sata USB is obviously usb common sense here. Here’s a google image for example as well

8. Choose your target disk here

9. Usually you will want to skip the source file repair and fix it after the clone is complete. For difficult disks, you can try to repair first but you should verify you have a good backup and that the drive is not in a failing state before doing this as repairs are disk intensive.

10. Continue through the rest of the prompts, verifying that your selections are correct. Eventually, you will be shown a progress bar of the clone process. Wait for this to complete, and then you can install your freshly cloned drive into the computer.


